Installation Process
What to Expect During a Professional Backsplash Installation
A professional backsplash installation should feel organized, clear, and respectful of the home. This guide walks homeowners through the full process, including the estimate, material selection, scheduling, prep, demolition, installation, grout, cleanup, and final walkthrough.

A clean process is part of a premium installation.
Most homeowners think first about the finished backsplash: the tile, the color, the pattern, the grout, and how the kitchen will look when the project is complete. Those details matter. But the experience during the project matters too.
A professional backsplash installation should feel organized, clear, and respectful of the home.
For many homeowners, especially first-time backsplash clients, the biggest concern is uncertainty. How long will the kitchen be disrupted? Will there be dust? What needs to be cleared off the counters? When does grout happen? What if the existing backsplash has to come out? How much access will the installer need?
The answers depend on the kitchen, tile material, existing conditions, and project scope, but a good installer should be able to walk the homeowner through the process before work begins.
This guide explains what to expect during a professional backsplash installation, from the first estimate through final cleanup.
The Process Starts Before Installation Day
A good backsplash project does not begin when the tile is placed on the wall.
It begins with planning.
Before installation day, the project should be reviewed for scope, material, layout, wall condition, edge details, outlets, schedule, and homeowner expectations. These early decisions affect how clean and efficient the installation feels once work starts.
Before work begins, a professional backsplash process usually includes:
- Project discussion
- Photos or site review
- Measurements
- Material direction
- Pattern and layout discussion
- Quote or proposal
- Scheduling
- Material confirmation
- Prep expectations
- Final scope review
The more clearly these details are handled upfront, the less confusion there should be during installation.
Step 1: The Estimate and Project Review
The estimate is where the backsplash scope begins to take shape.
A professional estimate should not only provide a number. It should help define what is being installed, what the project includes, what is separate, and what conditions may affect the final scope.
During the estimate or project review, the installer may look at:
- Backsplash square footage
- Wall height
- Existing tile or wall condition
- Countertop and cabinet layout
- Outlet and switch locations
- Range wall
- Windows
- Open edges
- Tile pattern
- Material type
- Grout direction
- Edge trim needs
- Removal or demo needs
- Access and scheduling
This is also the time for the homeowner to ask questions.
A professional installer should be able to explain what is included in the proposal and what may change if hidden conditions are found after old material is removed. For pricing context, see kitchen backsplash cost in the Charlotte area.
Step 2: Material Selection and Final Decisions
Some homeowners choose tile before contacting an installer. Others need help narrowing down the direction.
Either way, the material needs to be confirmed before the installation is scheduled.
Tile material affects installation because different materials require different levels of handling, cutting, layout planning, and finish detail.
Common backsplash materials include:
- Ceramic tile
- Porcelain tile
- Handmade-look tile
- Zellige-style tile
- Glass tile
- Marble tile
- Natural stone
- Mosaics
- Large-format tile
- Marble-look porcelain
The material affects more than appearance.
It can influence:
- Installation complexity
- Cut difficulty
- Grout joint size
- Edge trim needs
- Wall prep requirements
- Maintenance expectations
- Material waste
- Installation time
- Final project cost
Before installation, the homeowner should also confirm grout direction, trim or edge detail, and any special layout requests.
A backsplash should not be planned from tile alone. The finished result depends on tile, grout, pattern, edges, and installation details working together. For material direction, see best backsplash materials for a high-end kitchen.
Step 3: Scheduling the Installation
Once the scope and material direction are clear, the project can be scheduled.
Scheduling may depend on material availability, installer availability, project complexity, demolition needs, and whether any other work is happening in the kitchen.
Before the scheduled date, homeowners should confirm:
- Installation day or start date
- Expected project duration
- Access to the kitchen
- Parking or entry instructions
- Whether appliances need to be moved
- Whether countertops need to be cleared
- Whether old backsplash removal is included
- Whether electrical plates need to be removed
- Whether pets need to be secured
- Whether someone needs to be home
Not every backsplash has the same timeline.
A simple backsplash may move faster than a detailed herringbone layout, large-format installation, mosaic backsplash, or project with old tile removal and wall repair.
The important point is that the timeline should be discussed before the work begins.
Step 4: Preparing the Kitchen
Before installation begins, the kitchen needs to be prepared.
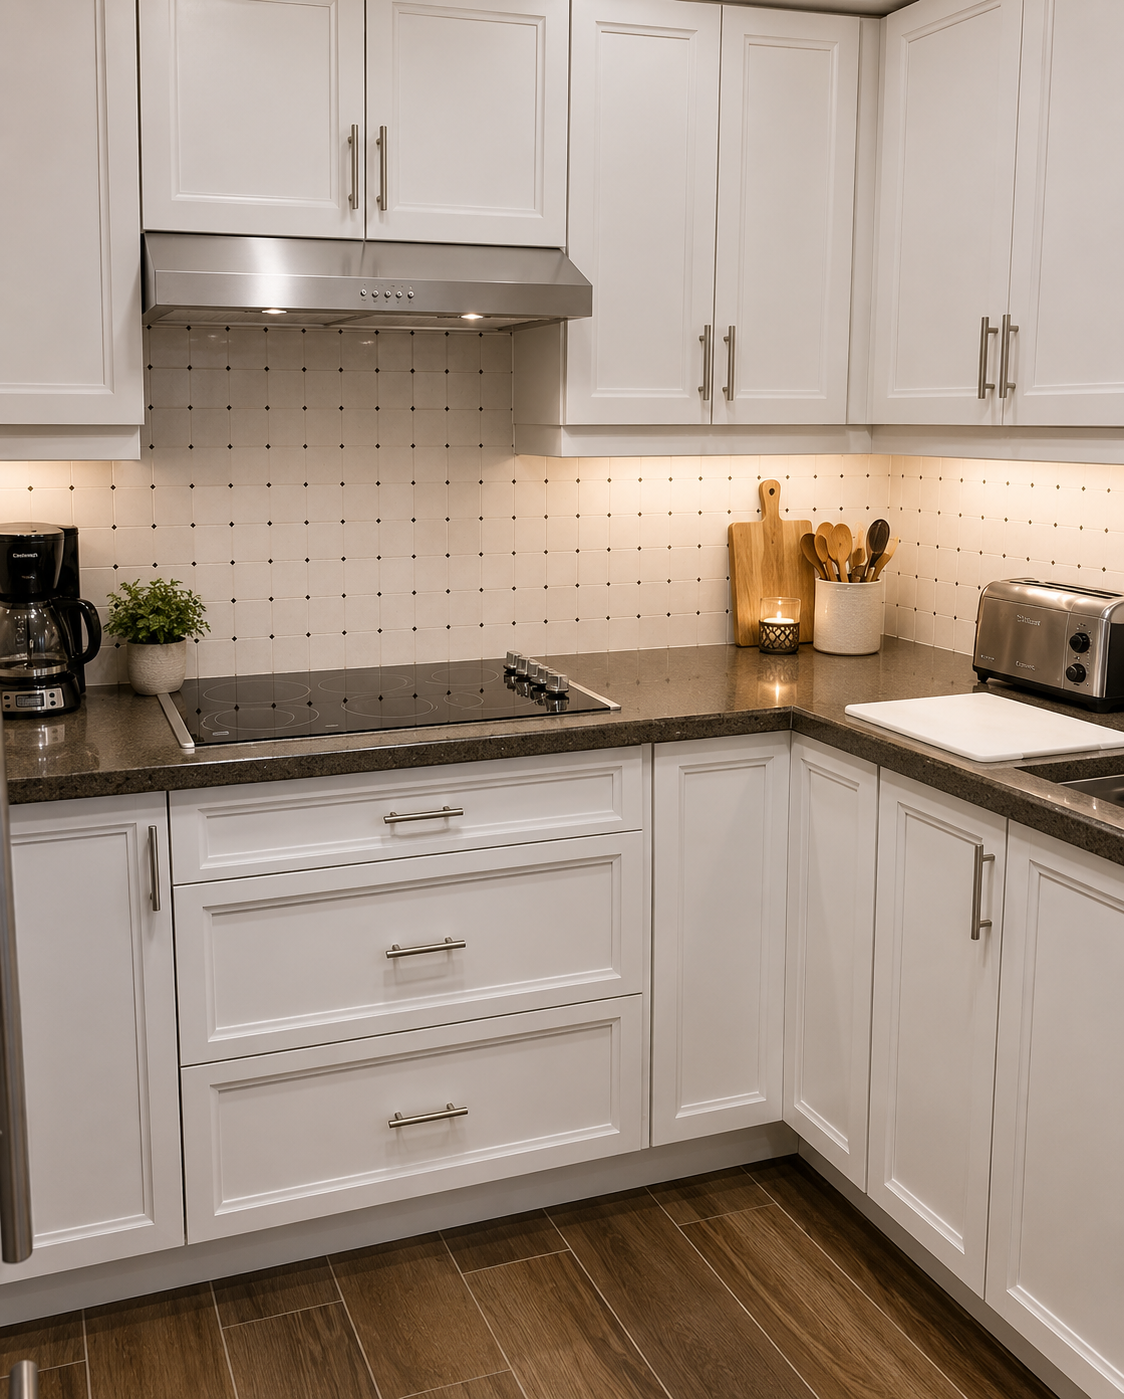
The homeowner should usually clear the countertop and surrounding work area. This helps the installer protect surfaces, access the wall, stage materials, and work efficiently.
Homeowners should plan to remove:
- Small appliances
- Coffee makers
- Toasters
- Utensil holders
- Decorative items
- Cutting boards
- Countertop storage
- Items near the range wall
- Fragile items near the work area
The installer may handle additional jobsite preparation, such as countertop protection, dust-control setup, floor protection, or surface masking depending on the project.
A clean workspace helps protect the home and supports a smoother installation.
Step 5: Home Protection and Dust Control
Backsplash installation happens inside a finished kitchen.
That means protection matters.
A professional installer should take steps to reduce mess and protect surrounding surfaces. The level of protection depends on the project, especially whether demolition or cutting is involved.
Protection may include:
- Countertop protection
- Floor protection
- Cabinet care
- Dust-control preparation
- Controlled cutting areas
- Protection around appliances
- Care around painted walls
- Debris handling
- Clean staging of tools and materials
No tile project is completely invisible while it is happening. There may be tools, noise, dust, adhesive, grout, and temporary disruption.
The difference is whether the process feels controlled.
A clean process is part of professional tile work.
Step 6: Demolition or Existing Backsplash Removal
If there is an existing backsplash, it may need to be removed before new tile is installed.
This step can vary widely.
Some old backsplashes come off cleanly. Others damage drywall or leave adhesive behind. In some cases, the wall may need repair before new tile can be installed.
Removal may involve:
- Taking off existing tile
- Removing a short countertop return
- Scraping adhesive
- Repairing damaged drywall
- Cleaning the surface
- Checking wall condition
- Preparing the area for new tile
Homeowners should understand that demolition can reveal hidden conditions.
If the existing tile was strongly bonded or installed over a weak wall surface, the prep phase may take longer than expected. That does not mean something went wrong. It means the installer needs to address the surface before installing new tile.
A quality backsplash should not be installed over a surface that is not ready.
Step 7: Wall Preparation
Wall preparation is one of the most important parts of a backsplash installation.
The wall does not need to be perfect, but it does need to be suitable for tile.
Wall prep may include:
- Removing residue
- Repairing damaged drywall
- Flattening problem areas
- Cleaning the wall
- Checking surface condition
- Making minor corrections
- Preparing for proper bonding
This step affects the final result.
Poor wall prep can lead to uneven tile, lippage, inconsistent grout lines, weak adhesion, and visible surface issues.
Wall prep is especially important when replacing a builder-grade backsplash, removing old tile, or installing larger tile that requires a flatter surface.
The finished backsplash is only as good as the surface behind it.
Step 8: Layout Planning
Before tile goes on the wall, the layout should be reviewed.
Layout planning determines how the tile pattern lands across the kitchen.
This includes:
- Where the tile starts
- Where the tile stops
- How the range wall is centered
- How cuts land at edges
- How the tile works around outlets
- How the tile meets cabinets
- How the tile meets countertops
- How corners are handled
- Where trim or edge detail is needed
A professional installer should not simply start setting tile without considering the full wall.
A good layout helps avoid awkward sliver cuts, off-center range walls, poor outlet alignment, and unfinished edges.
This is especially important for herringbone, vertical stack, mosaics, large-format tile, handmade tile, and any backsplash with a focal range wall.
Step 9: Tile Installation
Once the wall is prepared and the layout is planned, tile installation begins.
This is the step most homeowners think of first, but it is only one part of the process.
During installation, the installer places the tile according to the planned layout and material requirements.
This may involve:
- Applying setting material
- Placing tile
- Using spacers or leveling methods where appropriate
- Cutting tile around outlets and switches
- Cutting around cabinets or windows
- Aligning the pattern
- Checking grout lines
- Adjusting individual pieces
- Installing edge trim where needed
- Cleaning excess setting material as the work progresses
The installation phase may be fairly straightforward for simple tile patterns. It may take more time for herringbone, mosaics, large-format tile, handmade tile, or detailed range-wall features.
The goal is not speed alone. The goal is a clean, controlled installation.
Step 10: Outlet and Switch Details
Outlets and switches are a major part of backsplash installation.
They interrupt the tile pattern and require careful cutting. They also affect how the finished wall looks once the cover plates are reinstalled.
A professional installer should plan around:
- Outlet locations
- Switch locations
- Cover plate fit
- Tile cuts around electrical boxes
- Pattern alignment near openings
- Tile thickness
- Extension needs where applicable
- Clean finish around visible plates
The homeowner should expect outlet and switch plates to be removed during the project and reinstalled after the tile and grout are complete.
Clean outlet cuts are one of the details that make a backsplash feel professionally finished.
Step 11: Edge Trim and Stopping Points
A backsplash has to stop somewhere.
That stopping point should look intentional.
Common stopping points include:
- Cabinet ends
- Countertop ends
- Open wall edges
- Windows
- Range walls
- Pantry walls
- Inside corners
- Outside corners
Edge details may include metal trim profiles, bullnose tile, finished tile edges, or carefully planned tile termination points.
The best edge detail depends on the tile, wall layout, kitchen style, and where the backsplash ends.
If edge trim is needed, it should be discussed before installation begins. Trim color, profile, thickness, and placement can affect the final appearance.
A backsplash should not look like it simply ran out of wall.
Step 12: Drying or Set Time
After tile is installed, it usually needs time before grout is applied.
The exact timing depends on the setting materials, tile type, site conditions, and manufacturer requirements.
This waiting period is part of the process.
Homeowners should avoid touching the tile or disturbing the work area before the installer says it is ready for the next step.
A professional installer should communicate when grout will happen and whether the project will require a return visit or multiple phases.
The goal is to allow the installation materials to perform properly, not rush the process for convenience.
Step 13: Grout Installation
Grout is the finish that completes the tile surface.
It fills the joints between tile pieces and strongly affects the final appearance.
Before grouting, the grout color should be confirmed.
Grout can make the backsplash feel:
- Soft and subtle
- Clean and seamless
- More patterned
- More traditional
- More modern
- More dramatic
- Warmer or cooler
During grouting, the installer applies grout, works it into the joints, cleans the surface, and shapes the finished grout lines.
The homeowner should expect the backsplash to look different once grout is installed. Grout often softens the tile pattern or defines it more clearly depending on the color.
Grout is not a last-minute detail. It is part of the design. For grout direction, see how to choose the right grout color.
Step 14: Caulk and Movement Transitions
Some backsplash areas may require caulk or flexible sealant rather than grout.
This is common where tile meets another surface, such as the countertop, cabinets, inside corners, or certain perimeter conditions.
These areas can move differently than the main tile field.
Caulk or flexible transitions may be used at:
- Tile-to-countertop joints
- Inside corners
- Tile-to-cabinet transitions
- Tile-to-wall transitions
- Tile-to-window trim areas
- Select perimeter edges
This helps the finished backsplash handle normal movement between materials.
The homeowner may not notice these details immediately, but they affect how finished and practical the installation is.
Step 15: Cleaning the Tile Surface
After grouting, the tile surface needs to be cleaned.
This may include removing grout haze, wiping the tile, cleaning the joints, and checking the finish.
Some materials require more careful cleaning than others.
For example:
- Glossy tile may show haze clearly
- Textured tile may hold grout residue
- Natural stone may need special care
- Handmade-look tile may have surface variation
- Glass tile may show smudges or residue
- Mosaics may require detailed cleaning around many grout joints
The goal is to leave the backsplash looking finished, not just installed.
A clean final surface is part of the professional result.
Step 16: Final Cleanup
Once the tile and grout work are complete, the installer should clean the work area.
Final cleanup may include:
- Removing protective coverings
- Cleaning debris
- Reinstalling outlet and switch plates where appropriate
- Wiping work surfaces
- Checking tile lines
- Cleaning tools and staging areas
- Removing trash or project debris
- Leaving the kitchen usable again
The homeowner should expect some normal project disruption while work is happening, but the final condition should feel controlled and respectful.
A professional backsplash installation should not leave the kitchen feeling neglected.
Step 17: Final Walkthrough
The final walkthrough is the homeowner's opportunity to review the completed work.
This does not need to be complicated, but it is important.
During the walkthrough, the homeowner and installer may review:
- Finished tile layout
- Grout lines
- Edge details
- Outlet and switch plates
- Countertop transitions
- Corners
- Range-wall detail
- Cleanup
- Care instructions
- Any final notes
This is also the time to ask about cleaning, maintenance, grout care, or any product-specific recommendations.
A professional final walkthrough helps close the project clearly.
How Disruptive Is Backsplash Installation?
Backsplash installation is usually less disruptive than a full kitchen remodel, but it still affects the kitchen while work is underway.
Homeowners should expect:
- Countertops to be cleared
- Some kitchen access to be limited
- Tools and materials in the work area
- Noise from cutting or removal
- Dust-control measures
- Temporary removal of outlet plates
- Drying or set time
- Grout and cleanup phases
The exact disruption depends on whether old tile is being removed, what material is being installed, how complex the layout is, and how much prep work is required.
A professional process helps reduce disruption, but it does not eliminate the reality that tile work is active construction inside the home.
How Long Does a Backsplash Installation Take?
Backsplash timelines vary by project.
A straightforward backsplash may be completed more quickly than a detailed pattern, full-height backsplash, mosaic installation, large-format tile, or project requiring old tile removal and wall repair.
Timeline factors include:
- Backsplash size
- Existing tile removal
- Wall repair
- Tile material
- Pattern complexity
- Number of outlet cuts
- Edge trim details
- Grout requirements
- Drying or set time
- Cleanup and final review
Instead of relying on a generic timeline, homeowners should ask what their specific project requires.
A professional installer should provide a realistic expectation based on the actual scope.
What Homeowners Should Do Before Installation Day
Before installation day, homeowners can help the project run smoothly.
Recommended preparation includes:
- Clear countertops
- Remove small appliances
- Move fragile items away from the work area
- Confirm tile, grout, and trim decisions
- Confirm access instructions
- Secure pets
- Make sure parking or entry is available
- Ask any final questions before work begins
- Confirm whether old backsplash removal is included
- Confirm whether someone needs to be home
The goal is to create a clean, accessible workspace so the installer can focus on the tile work.
Good preparation helps the project feel more organized from the beginning.
What Homeowners Should Avoid During Installation
During installation, homeowners should avoid disturbing the work area unless needed.
That means avoiding:
- Touching freshly installed tile
- Moving protection or coverings
- Using the backsplash area before it is ready
- Reinstalling outlet plates early
- Cleaning grout haze before the installer has finished
- Placing appliances back too soon
- Making last-minute design changes after installation starts
Questions are fine. Changes can sometimes be made. But the best time for design decisions is before installation begins.
Once tile is being installed, changes may affect cost, schedule, material quantity, or finished layout.
Common Surprises During Backsplash Installation
Even a well-planned backsplash can reveal conditions once work begins.
Common surprises may include:
- Drywall damage after old tile removal
- Uneven walls
- Adhesive residue
- Outlet boxes that need attention
- Tile thickness affecting cover plates
- Cabinet or countertop lines that are not perfectly level
- Trim decisions that need confirmation
- Tile variation from piece to piece
- Additional cuts around unexpected details
A professional installer should communicate if something changes the scope.
The key is not pretending surprises never happen. The key is handling them clearly and professionally. For common issues to watch for, see common backsplash installation mistakes.
How CBC Approaches Backsplash Installation
CBC treats backsplash installation as a visible finish project, not just a small tile job.
That means the process matters.
CBC's approach focuses on:
- Clear project scope
- Material and layout review
- Surface preparation
- Home protection
- Clean installation
- Outlet and edge detail
- Grout direction
- Organized scheduling
- Final cleanup
- Finished presentation
A backsplash may be a smaller project than a full remodel, but it sits at eye level and affects the feel of the kitchen every day.
CBC's goal is to make the process feel organized and the finished result feel intentional.
Explore backsplash installation services, understand CBC's project process, and view completed backsplash projects for reference. For finish quality, see what makes a tile installation look high-end and how to compare tile contractor quotes.
Final Takeaway
A professional backsplash installation should be more than tile placed on a wall.
It should include a clear estimate, material confirmation, scheduling, kitchen preparation, surface review, demolition if needed, wall prep, layout planning, installation, grout, cleanup, and final walkthrough.
The homeowner should know what to expect before installation day.
A clean process is part of a premium installation. It helps reduce uncertainty, protect the home, and support a finished backsplash that looks planned from edge to edge.
Planning Your First Backsplash Installation?
CBC helps homeowners plan backsplash projects with clear expectations, organized scheduling, careful prep, clean installation, and professional finish details.
Request a backsplash estimate to review your kitchen, material direction, and project scope.
FAQ
How long does professional backsplash installation take?
Backsplash timelines vary based on project size, existing tile removal, wall repair, material type, pattern complexity, outlet cuts, edge trim, grout, and drying time. A straightforward backsplash may move faster than herringbone, mosaic, large-format tile, or a project that requires demolition and wall prep.
Do I need to clear my counters before backsplash installation?
Yes. Homeowners should usually clear countertops, remove small appliances, move fragile items away from the work area, and make the backsplash area accessible before installation day. This helps with protection, staging, and efficient installation.
Is backsplash installation messy?
Backsplash installation can involve dust, tools, cutting, adhesive, grout, and temporary disruption. A professional installer should use protection and dust-control practices to keep the process organized and respectful of the home.
What happens if old backsplash removal damages the wall?
Existing tile removal can sometimes damage drywall or reveal uneven surfaces. If that happens, the wall may need repair or preparation before new tile is installed. A quality backsplash should not be installed over a surface that is not ready.
When is grout installed during a backsplash project?
Grout is installed after the tile has been set and the installation materials have had appropriate time before grouting. The exact timing depends on the tile, setting materials, site conditions, and project scope.